Vehicles
Every car, van, truck or trailer you track is a vehicle in Fliteca. Each vehicle can have one tracker assigned. Click Vehicles in the top menu to see them all.
Your vehicle list
The list shows each vehicle’s status, name, model, license plate and when it last sent data. Type in Filter to find a vehicle. Click a column name to sort by it. Click a vehicle to open its details.
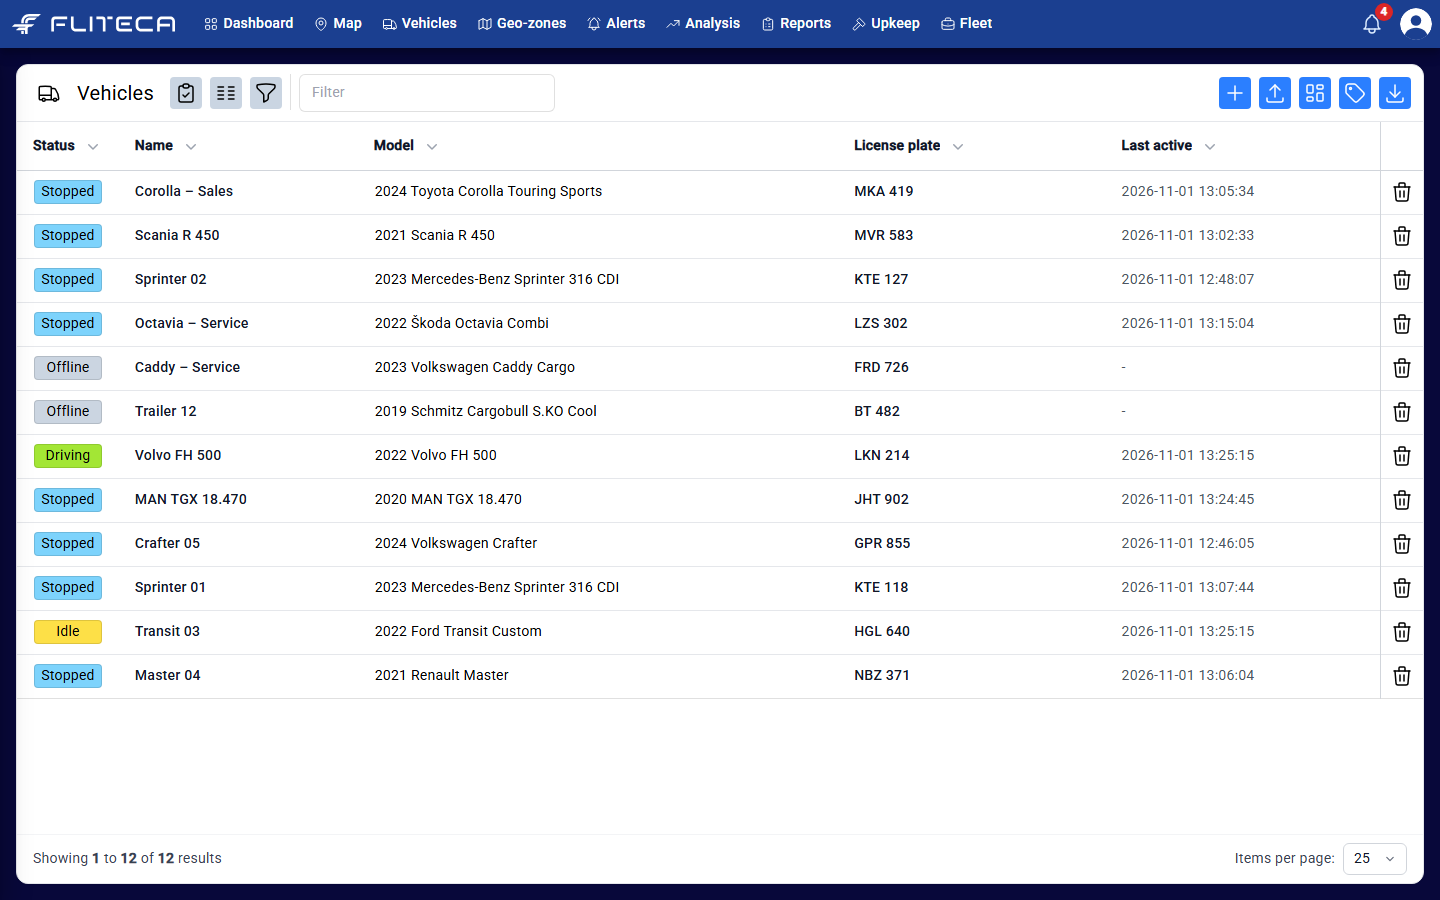
The buttons in the top-right corner, from left to right:
+ – add a vehicle
Import – add many vehicles from an Excel file (see Import vehicles)
Groups – manage vehicle groups
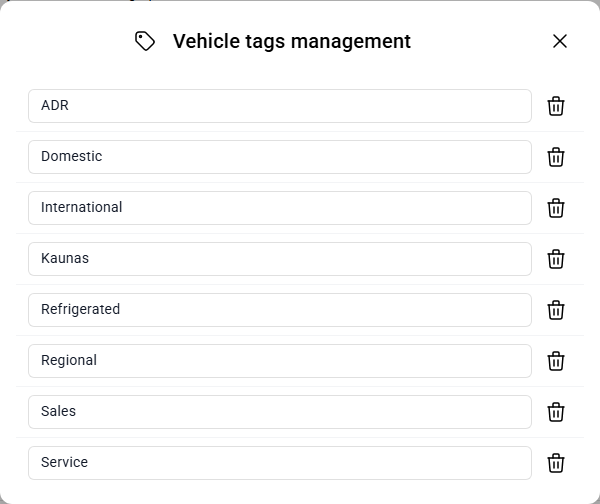
Tags – manage vehicle tags
Export – download the list as a CSV file
Add a vehicle
Tip
Add the tracker first (see Trackers). Then you can link it to the vehicle while you add the vehicle.
Click + above the vehicle list.
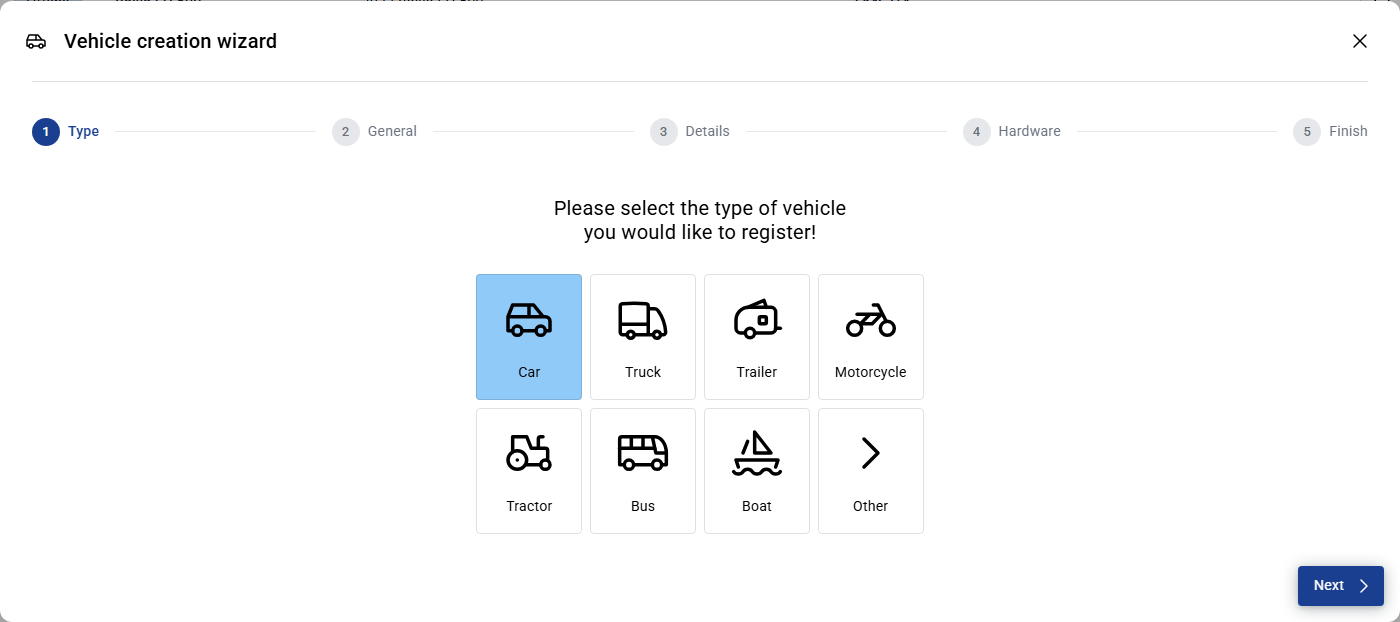
Type – choose what kind of vehicle it is: car, truck, trailer, motorcycle, tractor, bus, boat or other.
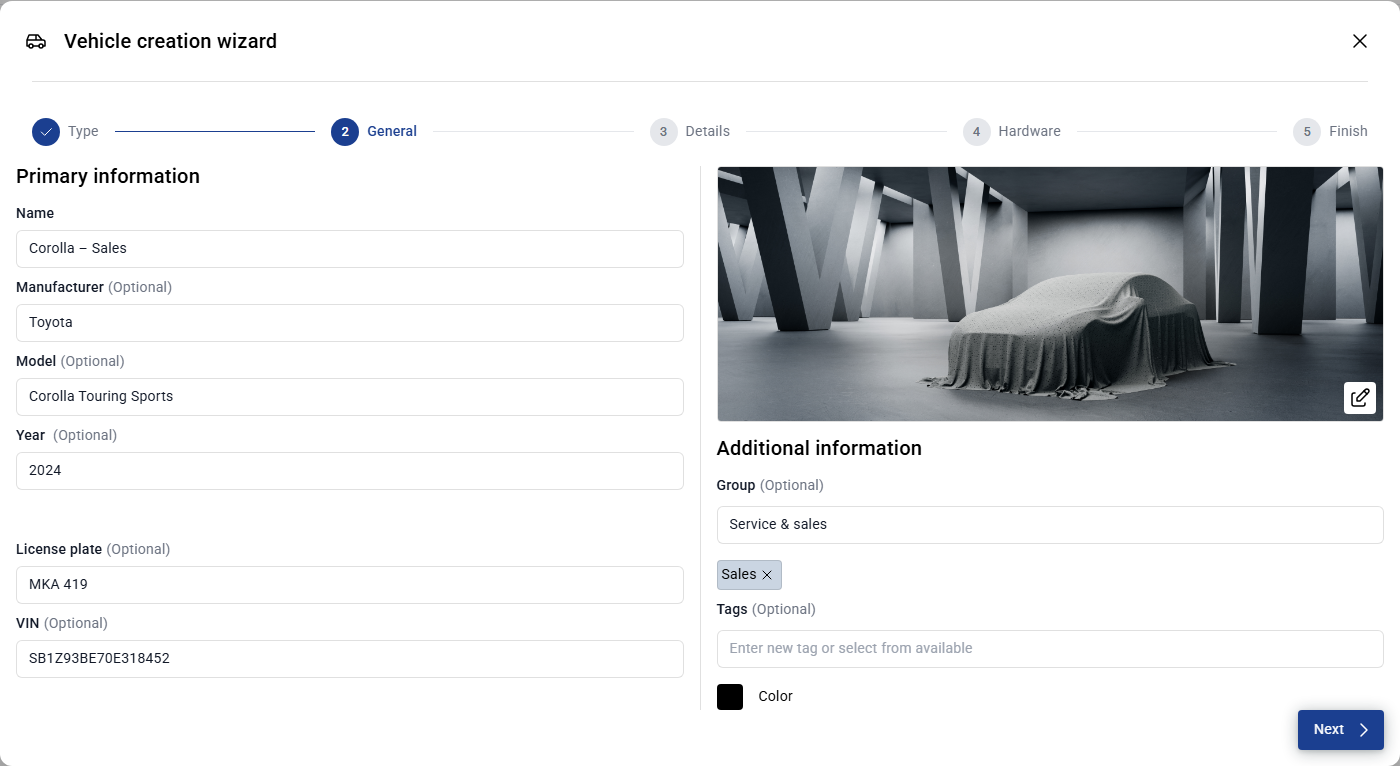
General – give the vehicle a name that your team knows, for example “Sprinter 01”. Add the manufacturer, model, year, license plate and VIN if you have them. You can also add a photo, a group, tags and a color.
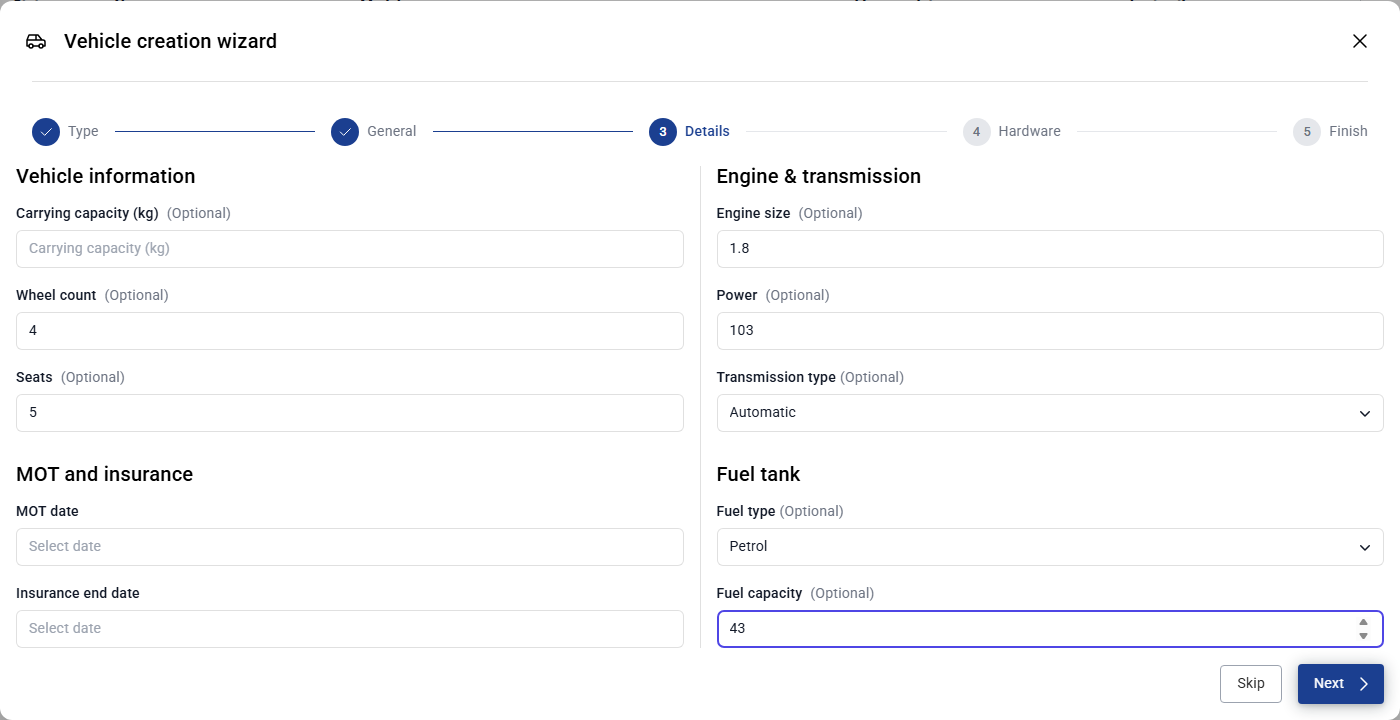
Details – add more facts, such as carrying capacity, seats, fuel type, the MOT date and the insurance end date. You can click Skip and add them later.
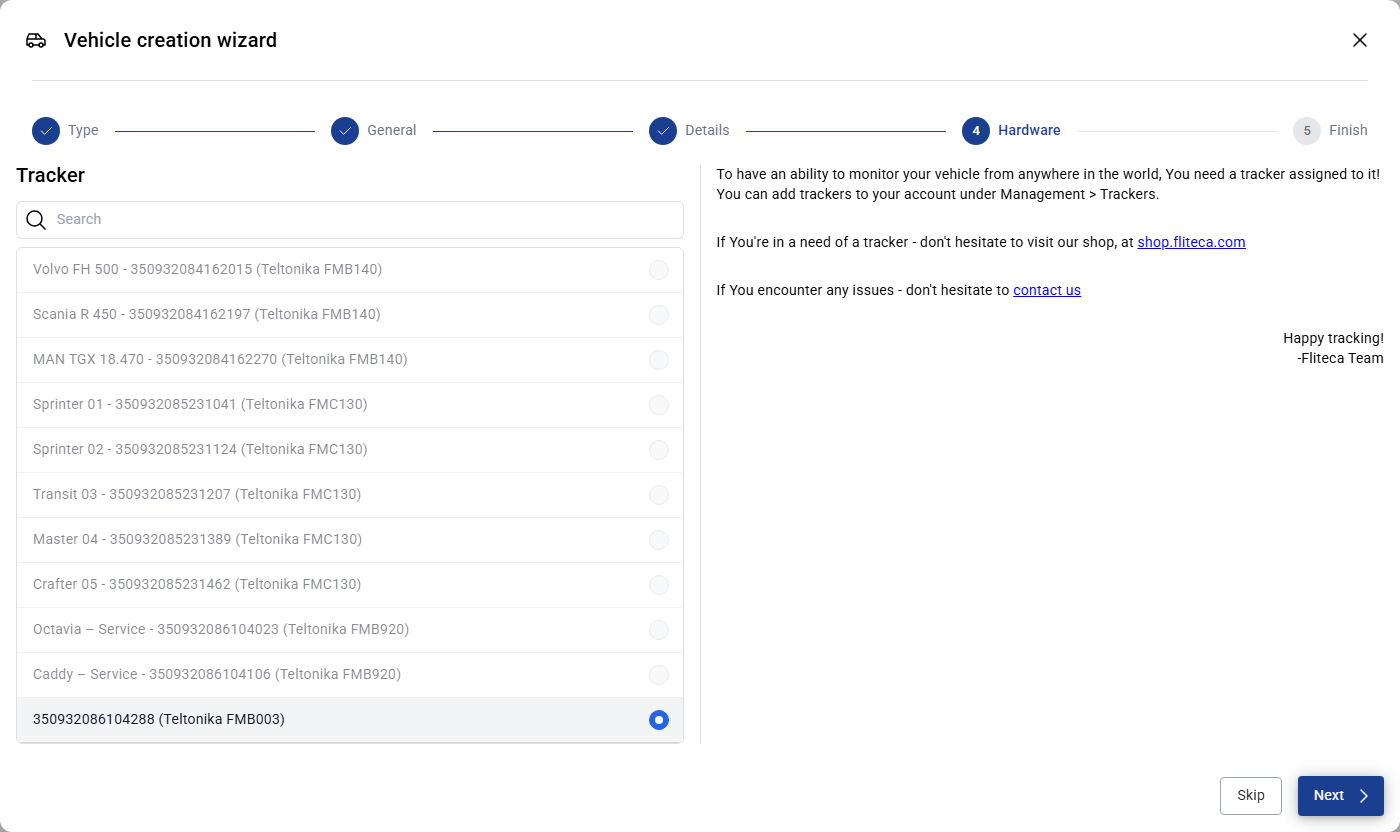
Hardware – choose the tracker that is in this vehicle. Trackers that are already in another vehicle are grey. You can click Skip and link it later.
Finish – check the summary and click Save.
The vehicle appears on the map as soon as its tracker sends data.
Vehicle details
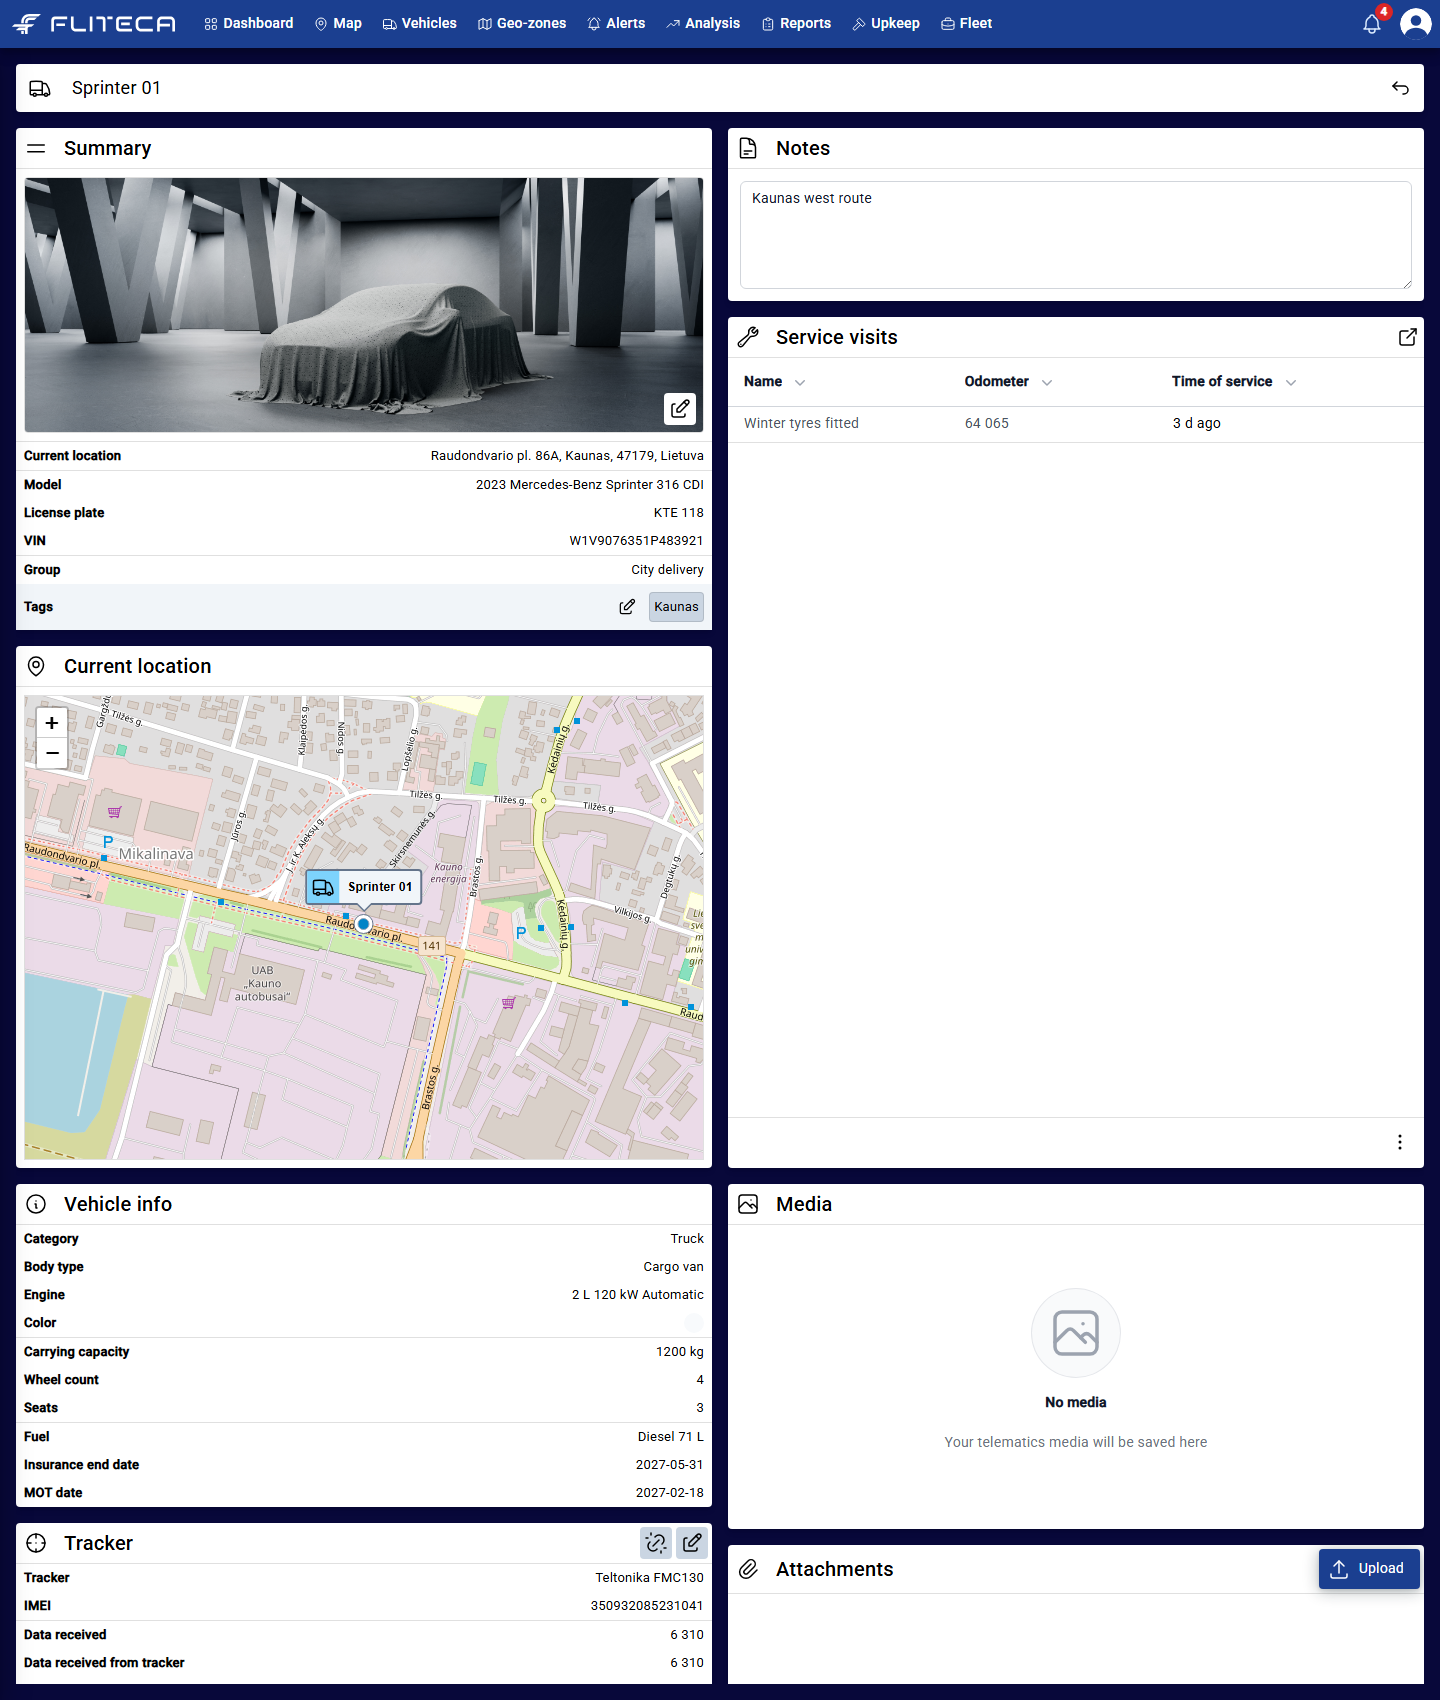
Click a vehicle in the list to open its page. There you find:
Summary – photo, current location, model, license plate, VIN, group and tags
Notes – free text for your team
Service visits – the latest service visits
Current location – a small map
Vehicle info – the facts you entered when you added the vehicle
Media – photos and videos from the tracker, if it sends them
Tracker – the linked tracker and how much data it sent. Use the buttons to unlink it or change it.
Attachments – documents such as the registration certificate or insurance. Click Upload to add one.
Groups and tags
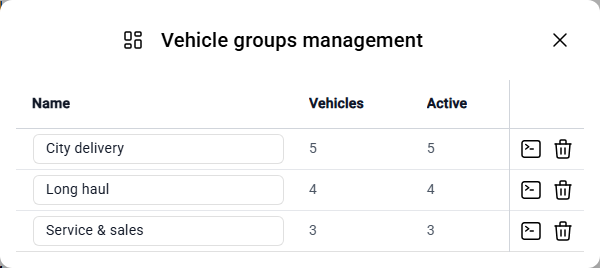
Groups help organize your vehicles. Assign meaningful names for groups, like “City delivery” or “Long haul” for easier fleet management. Each vehicle can only be in one group.
Groups are used on the map, in reports, alerts and Permissions.
Tags help organize your vehicles when multiple labels are required per vehicles, like “Temporary,” “Shared” and “Requires C license.”
To rename or delete groups and tags, click the Groups or Tags button above the vehicle list. In the groups window you can also send a command to every tracker in a group. See Tracker commands.
Add many vehicles at once
To add many vehicles from an Excel file, see Import vehicles.
Download your vehicle list
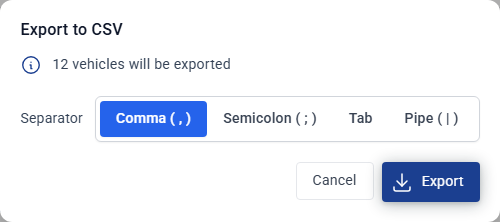
Click Export above the vehicle list.
Choose the separator that your spreadsheet program expects. If you are not sure, keep Comma.
Click Export.