Employees
In Fliteca, you might need to share different parts of the resources with different employees. You can invite them in this page. Each employee gets a permission that decides what they can see and do.
Click Fleet in the top menu, then Employees on the left.
Your employee list
The list shows each employee’s permission, email, name and last login.
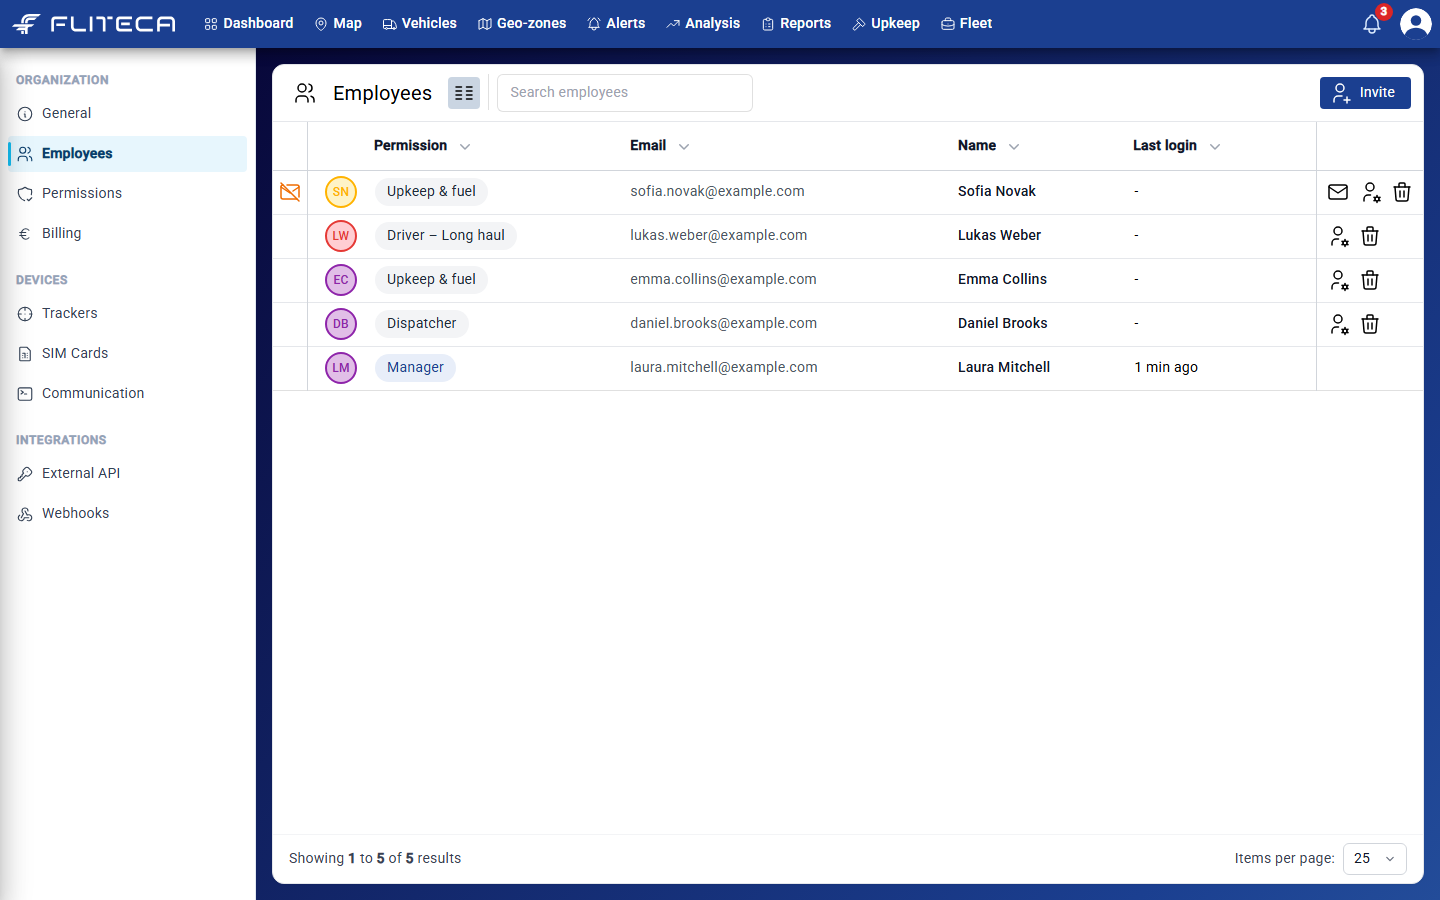
An orange envelope on the left means the employee did not accept the invitation yet.
Use Search employees to find someone.
The icons on the right of each row:
Envelope – send the invitation again. You can do this once an hour.
Person with a gear – change the employee’s permission.
Bin – remove the employee.
Invite an employee
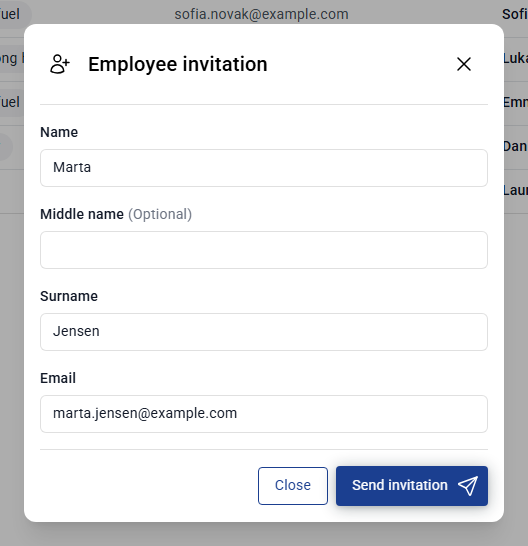
Click Invite.
Enter the Name, Surname and Email. The middle name is optional.
Click Send invitation.
The employee gets an email from Fliteca. The invitation is valid for 7 days.
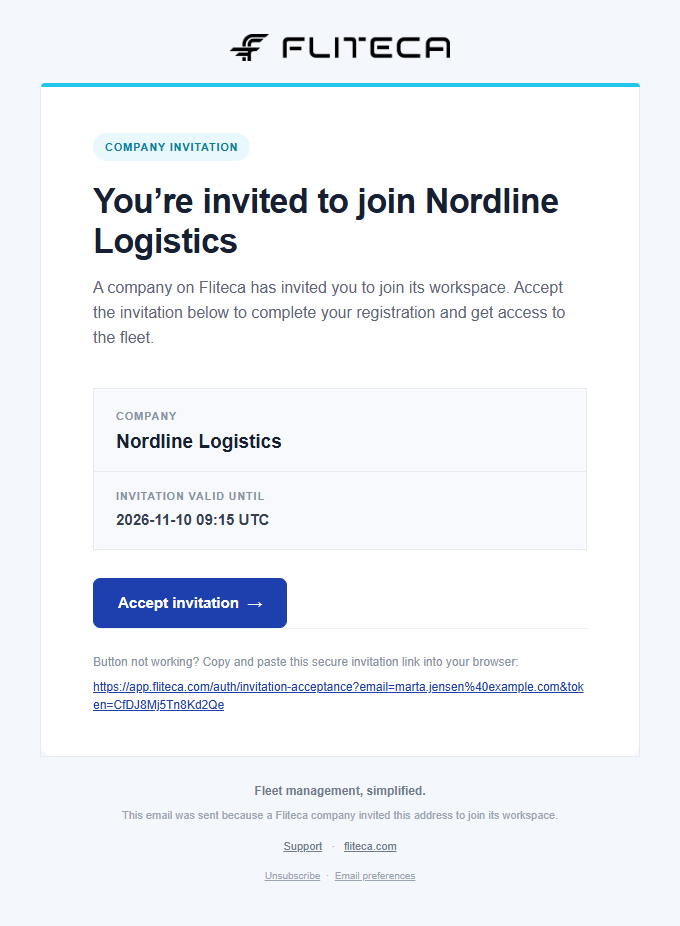
They click Accept invitation, choose a password, accept the privacy policy and click Save. After that, they sign in like you do.

Note
Your plan sets how many users you can have. You can see the number under Plan & usage on the General page.
Give an employee a permission
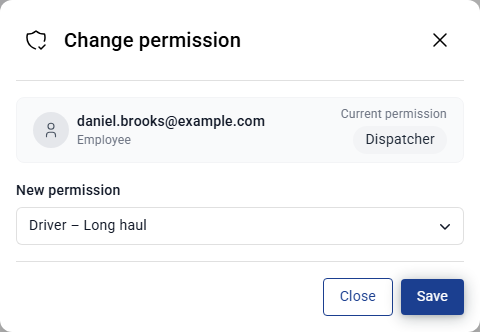
Click the person with a gear in the employee’s row. The window shows the employee’s current permission.
Under New permission, choose the permission. Click Save.
You can also add employees to a permission from the Permissions page.
Tip
If you create the permissions first, then invite your colleagues, you can give each of them the right permission straight away.