Getting started
This page takes you from zero to your first tracked vehicle. It takes about ten minutes.
Create your account
Open app.fliteca.com. You see the Log in page.
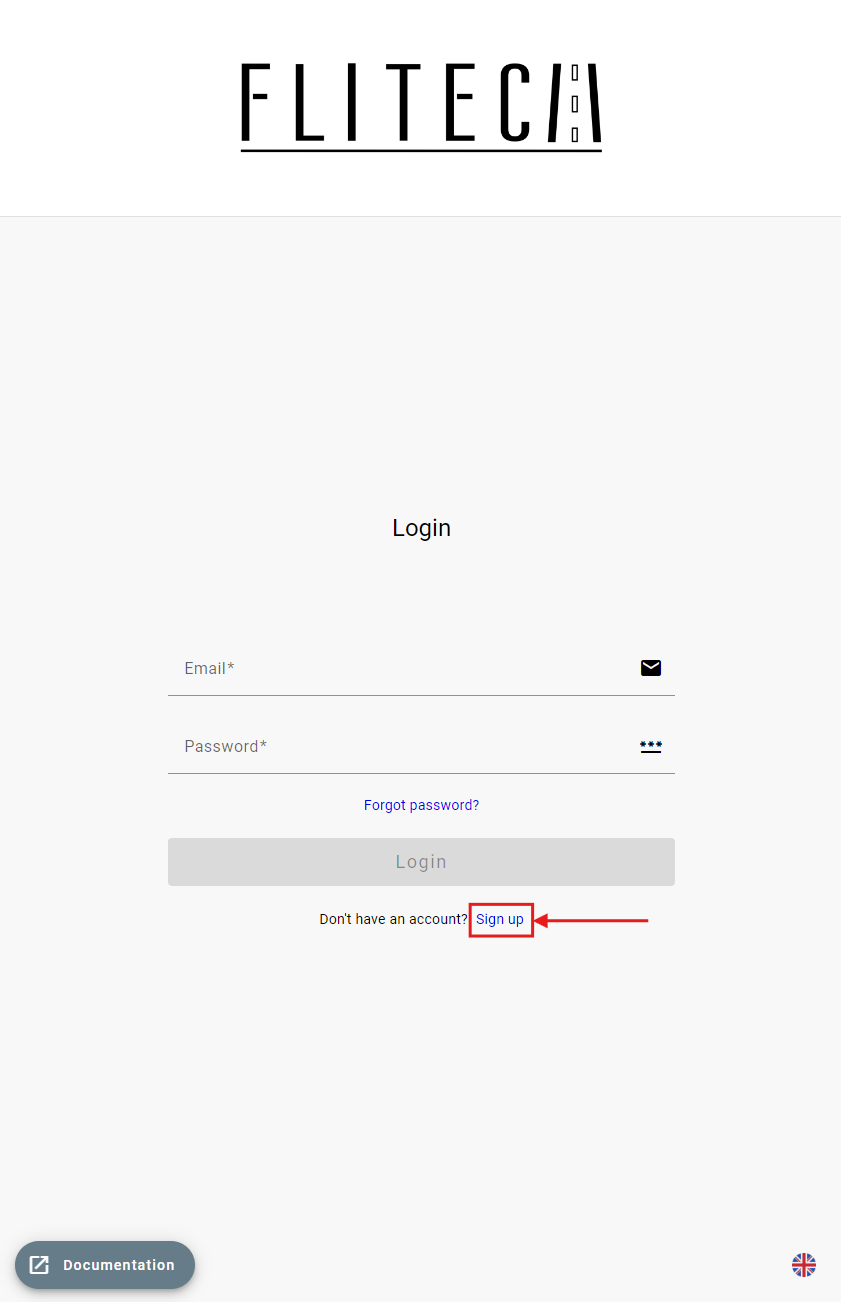
Click Sign up at the bottom.
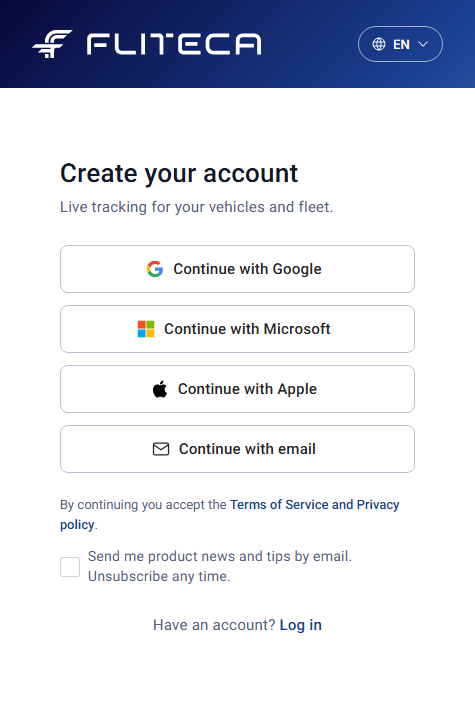
Choose how you want to sign up:
Continue with Google, Continue with Microsoft or Continue with Apple – use an account you already have. You do not need a new password or a confirmation email. See Sign up with Google, Microsoft or Apple.
Continue with email – sign up with your email and a new password. See Sign up with email.
By continuing, you accept the Terms of Service and the Privacy policy. Tick Send me product news and tips by email if you want to hear about new features.
Sign up with Google, Microsoft or Apple
On the Create your account page, click Continue with Google, Continue with Microsoft or Continue with Apple.
Sign in to your Google, Microsoft or Apple account and allow Fliteca to use it.
Fliteca opens and logs you in. You do not need to confirm your email address, so you go straight to setting up your company.
Next time, log in with the same button on the Log in page.
Note
Continue with Apple appears only on an iPhone, iPad or Mac.
If the email address of that account already has a Fliteca account, log in with your password and link the account instead.
If your Google, Microsoft or Apple account has no confirmed email address, sign up with email.
Sign up with email
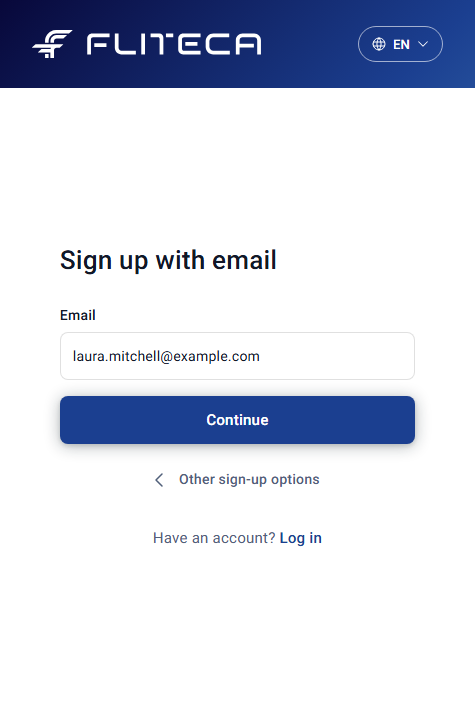
On the Create your account page, click Continue with email.
Enter your work email and click Continue.
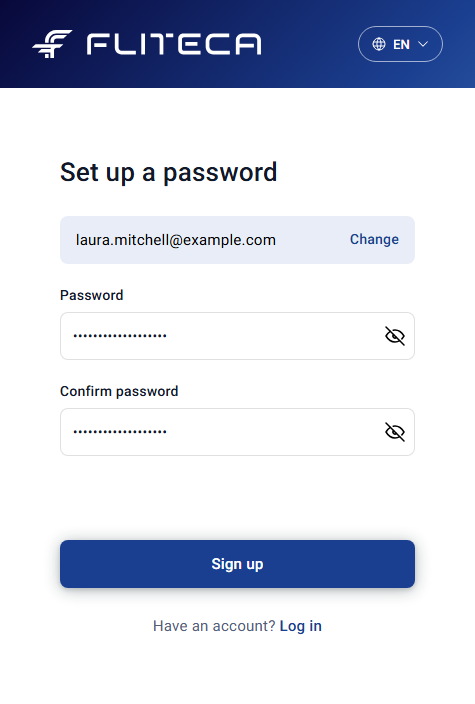
Choose a password and type it again in Confirm password.
Click Sign up.
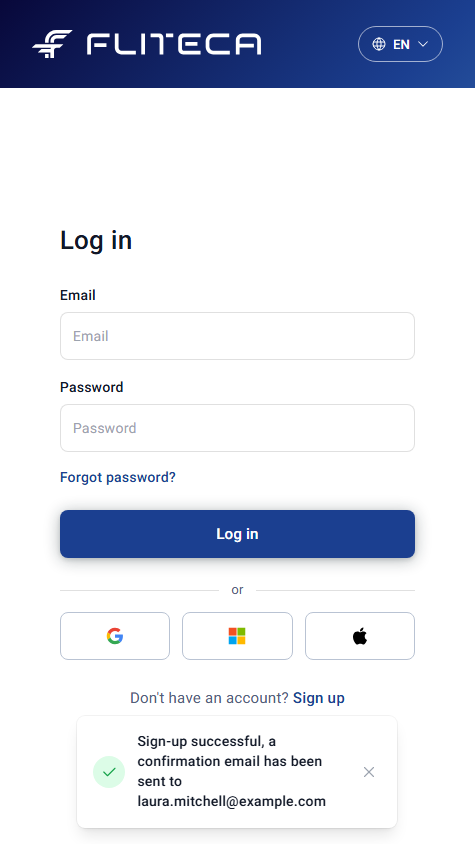
Fliteca opens the Log in page. A message tells you that we sent you a confirmation email.
Confirm your email
If you signed up with email, confirm your email address before you log in.
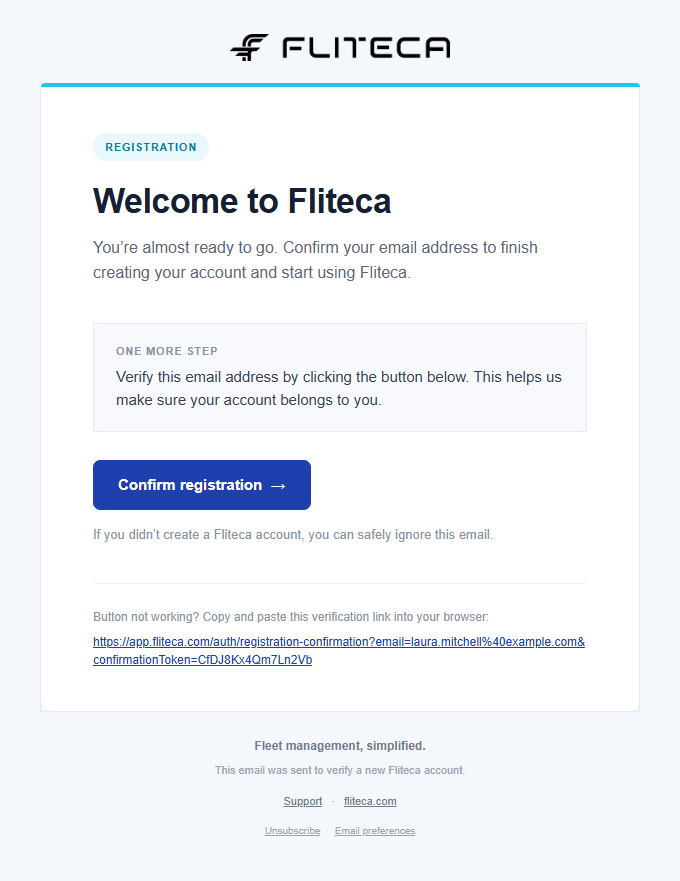
Open the email “Welcome to Fliteca”. If you cannot find it, look in your spam folder.
Click Confirm registration in the email.
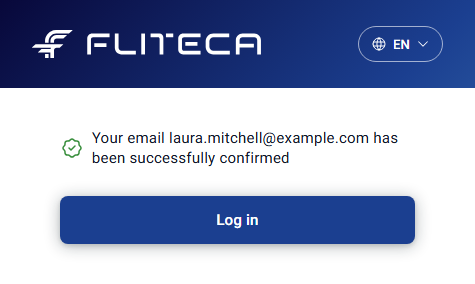
Fliteca opens and confirms your account. Click Log in.
Log in
Enter your email and password.
Click Log in.
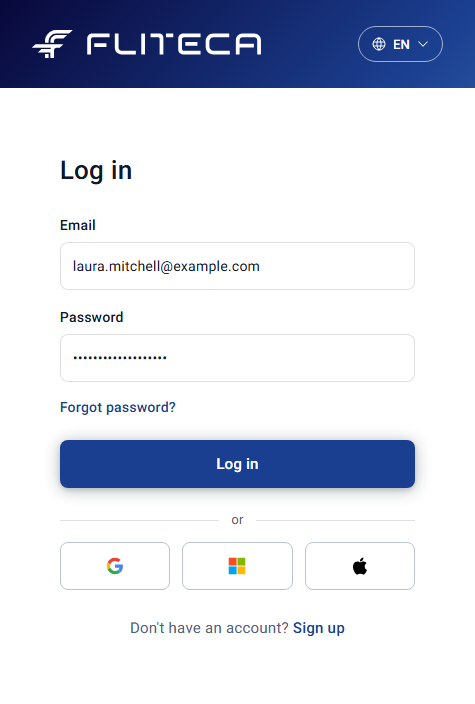
To log in with Google, Microsoft or Apple, click its button under or. This works for the account you signed up with and for accounts you linked.
Tip
To change the language, click EN in the top-right corner.
Link Google, Microsoft or Apple
Signed up with email? You can also log in with your Google, Microsoft or Apple account. Link it once:
Log in with your email and password.
Open your profile: click your picture in the top-right corner and choose Profile.
In Security, click Link next to Google, Microsoft or Apple.
Sign in to that account. When you come back, the row shows Linked.
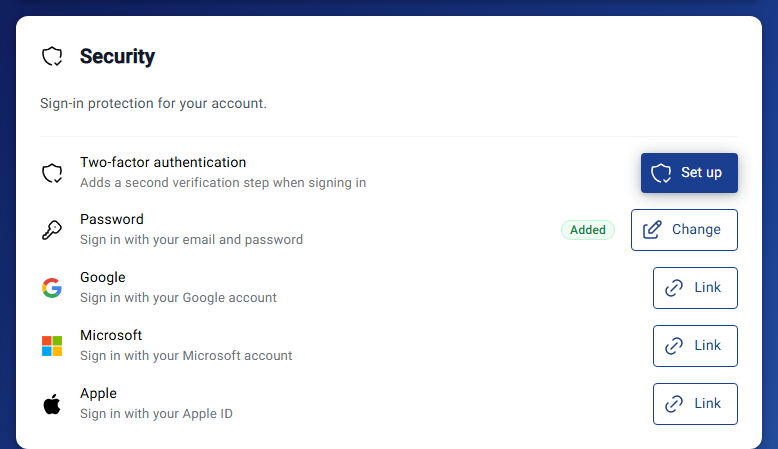
The linked account can have a different email address than your Fliteca account.
One Google, Microsoft or Apple account can be linked to only one Fliteca account.
To link Apple, use an iPhone, iPad or Mac.
To stop logging in with an account, click Unlink next to it. You can link it again later. You cannot unlink the last way you log in. If you signed up with Google, Microsoft or Apple, click Add password in Security first, or link another account.
Forgot your password?
Click Forgot password? on the Log in page.
Enter your email and click Reset password.
Open the email from Fliteca and click Reset password in it.
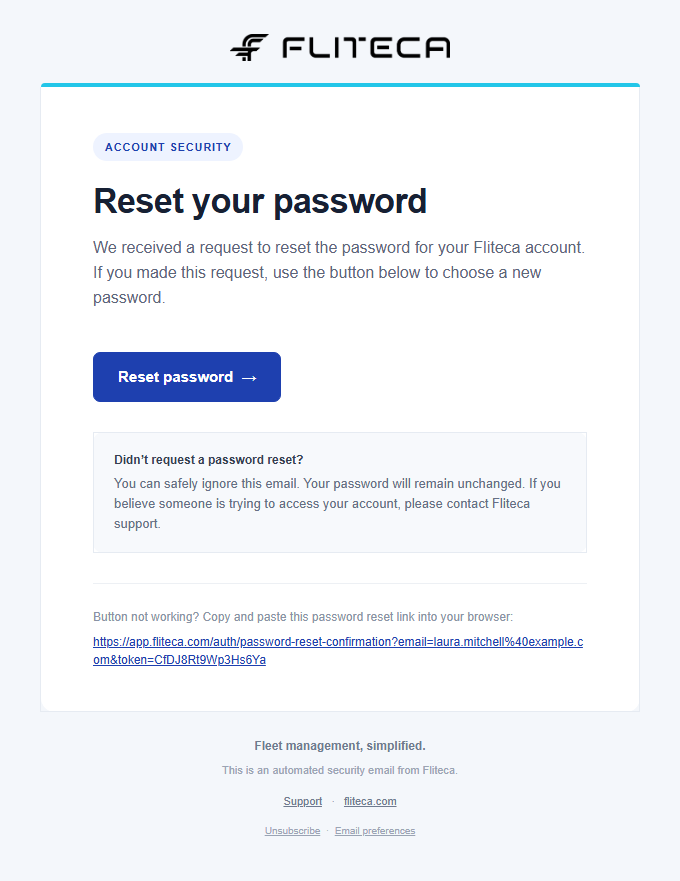
Choose a new password and click Save. Then log in with your new password.
Set up your company
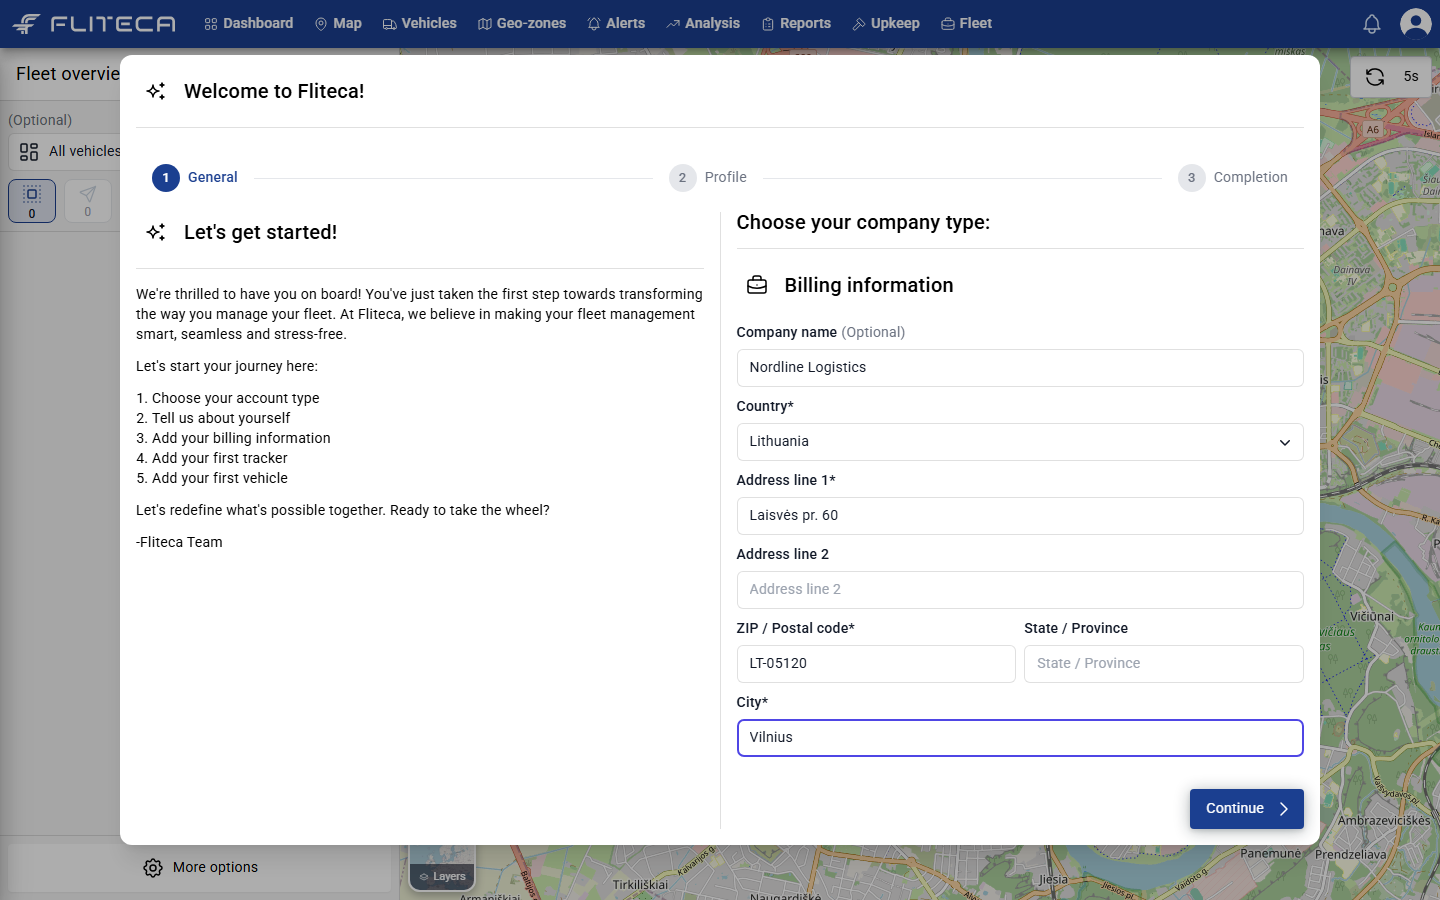
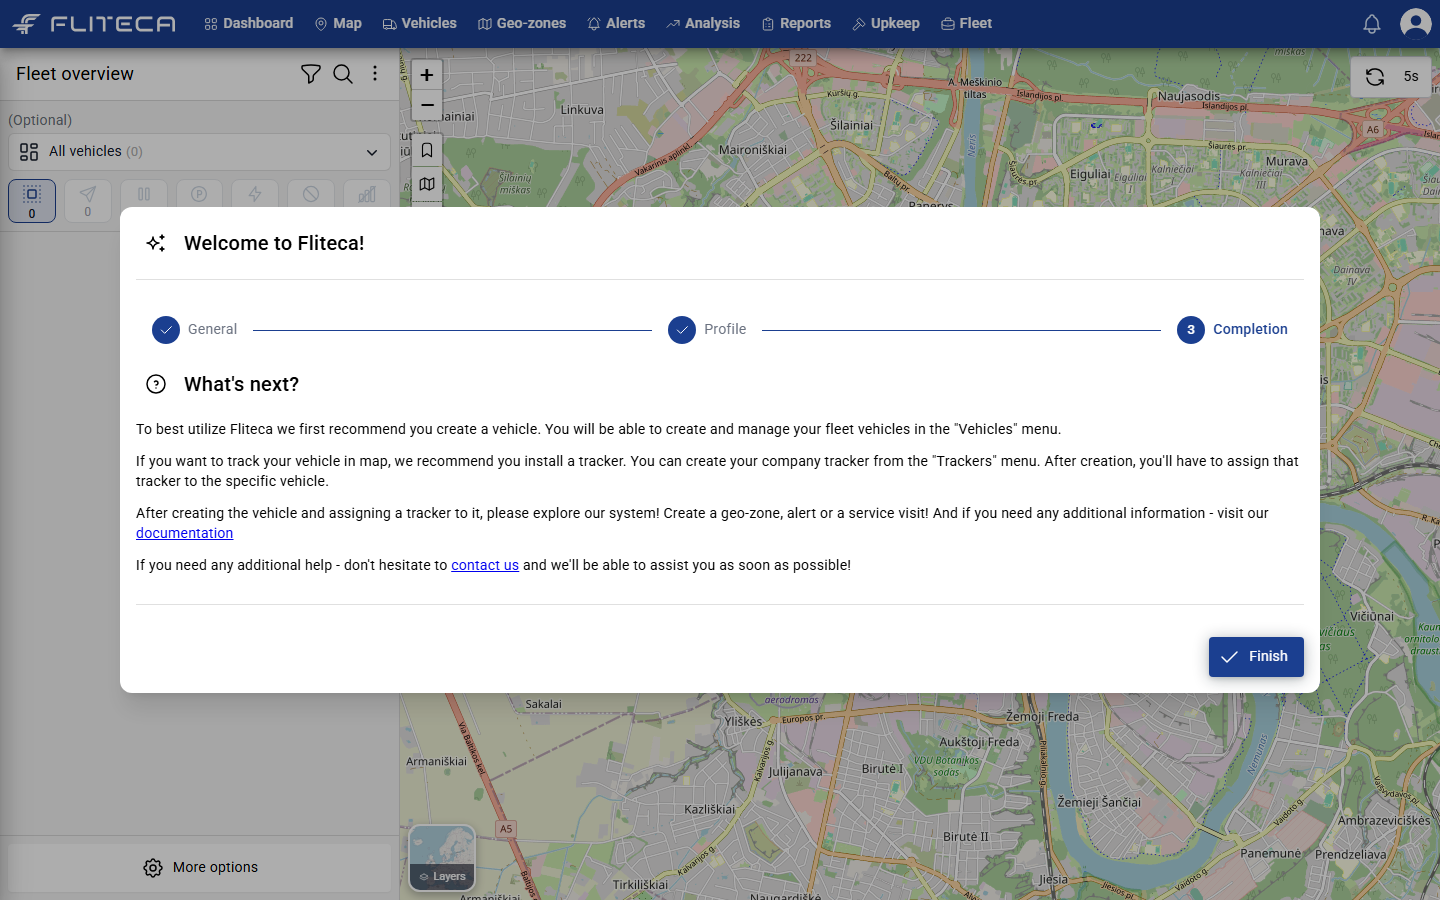
The first time you log in, the Welcome to Fliteca! window asks for a few details.
Step 1 – General. Enter your company’s billing details: country, address, ZIP or postal code and city. The company name is optional. We use these details on your invoices.
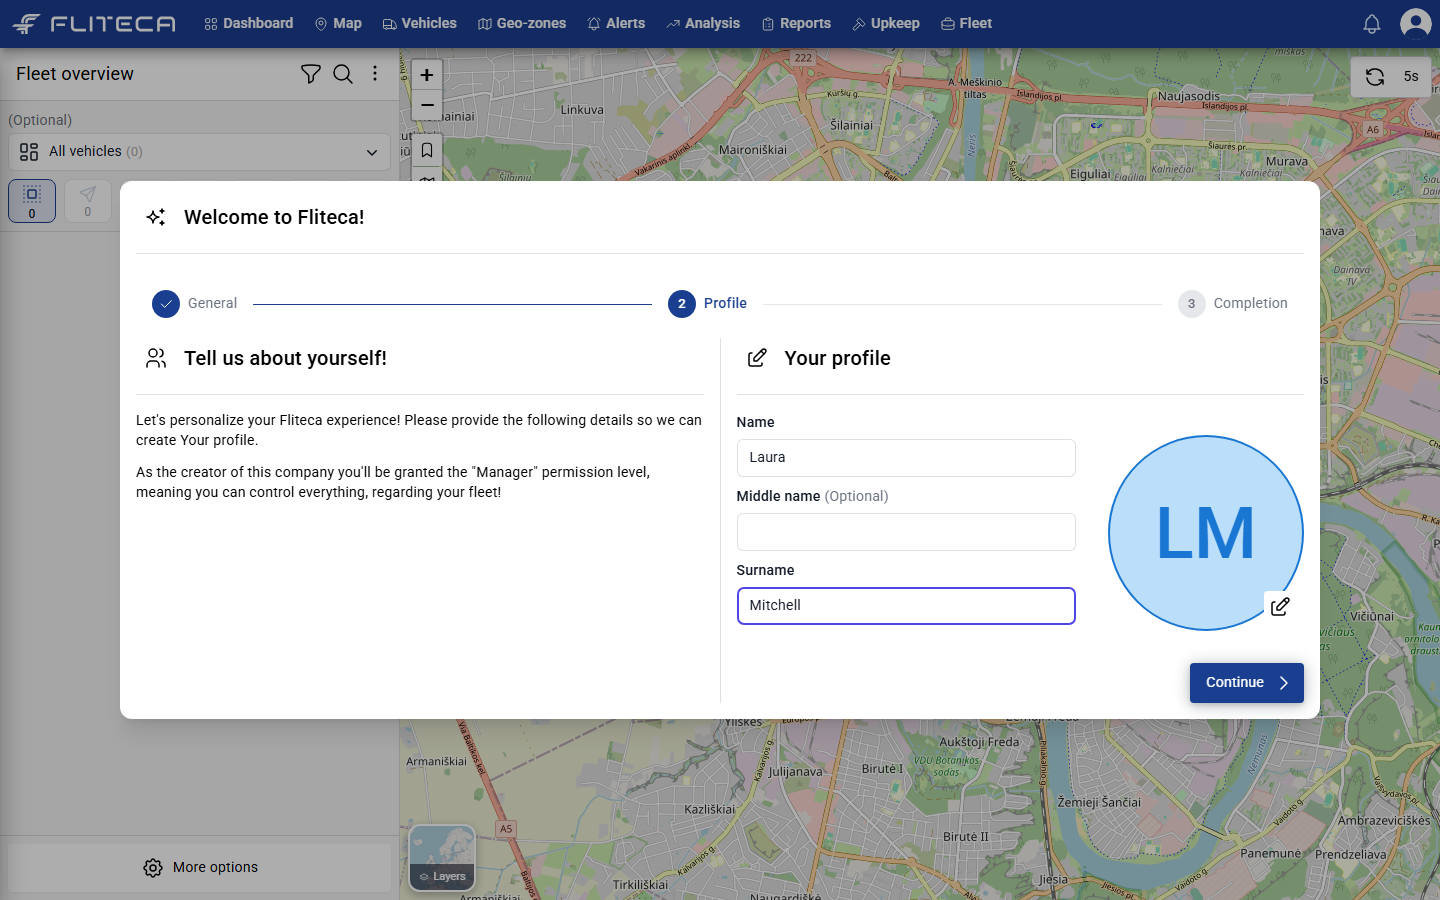
Step 2 – Profile. Enter your name and surname. You can also add a profile photo. As the person who created the company, you get the Manager permission level. It lets you do everything.
Step 3 – Completion. Read what to do next and click Finish.
Your first look
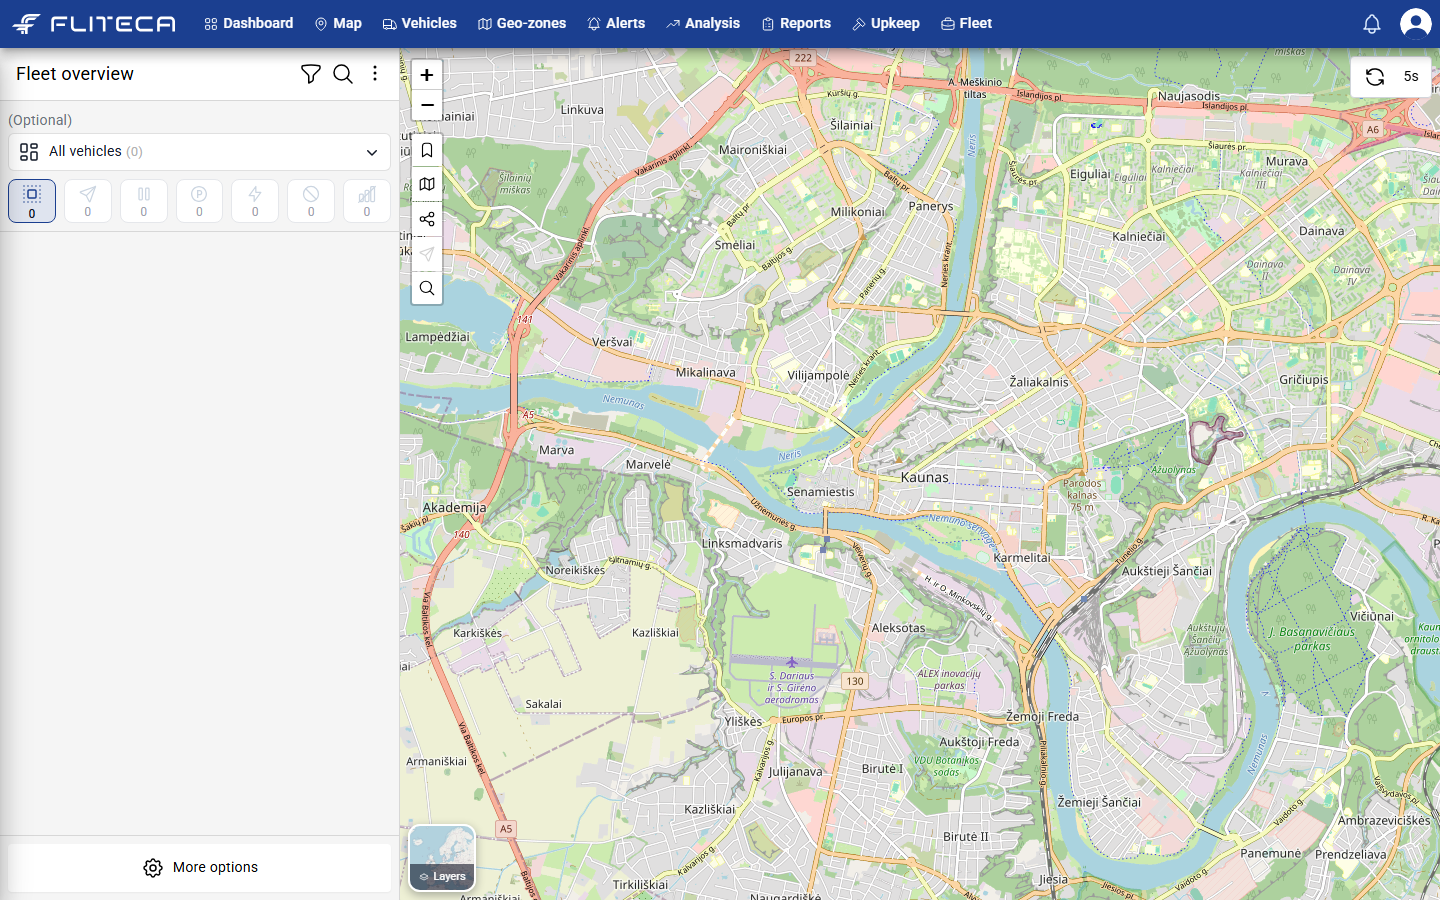
Fliteca opens on the map. It is empty because you have no vehicles yet.
What to do next
Follow these steps in this order. Each one takes a few minutes.
Add your tracker – the GPS device that sits in the vehicle.
Add your vehicle and link the tracker to it.
Configure the tracker so it sends data to Fliteca.
Watch the vehicle move on the map.
Draw geo-zones around your depots and customers.
Create alerts to hear when vehicles arrive or leave.