Map
Map is the most viewed page of the whole Fliteca application. In this page you can quickly know where your units are deployed at this current moment. It is also packed with other supporting features so you don’t need to navigate between multiple pages to find basic information.
The map at a glance
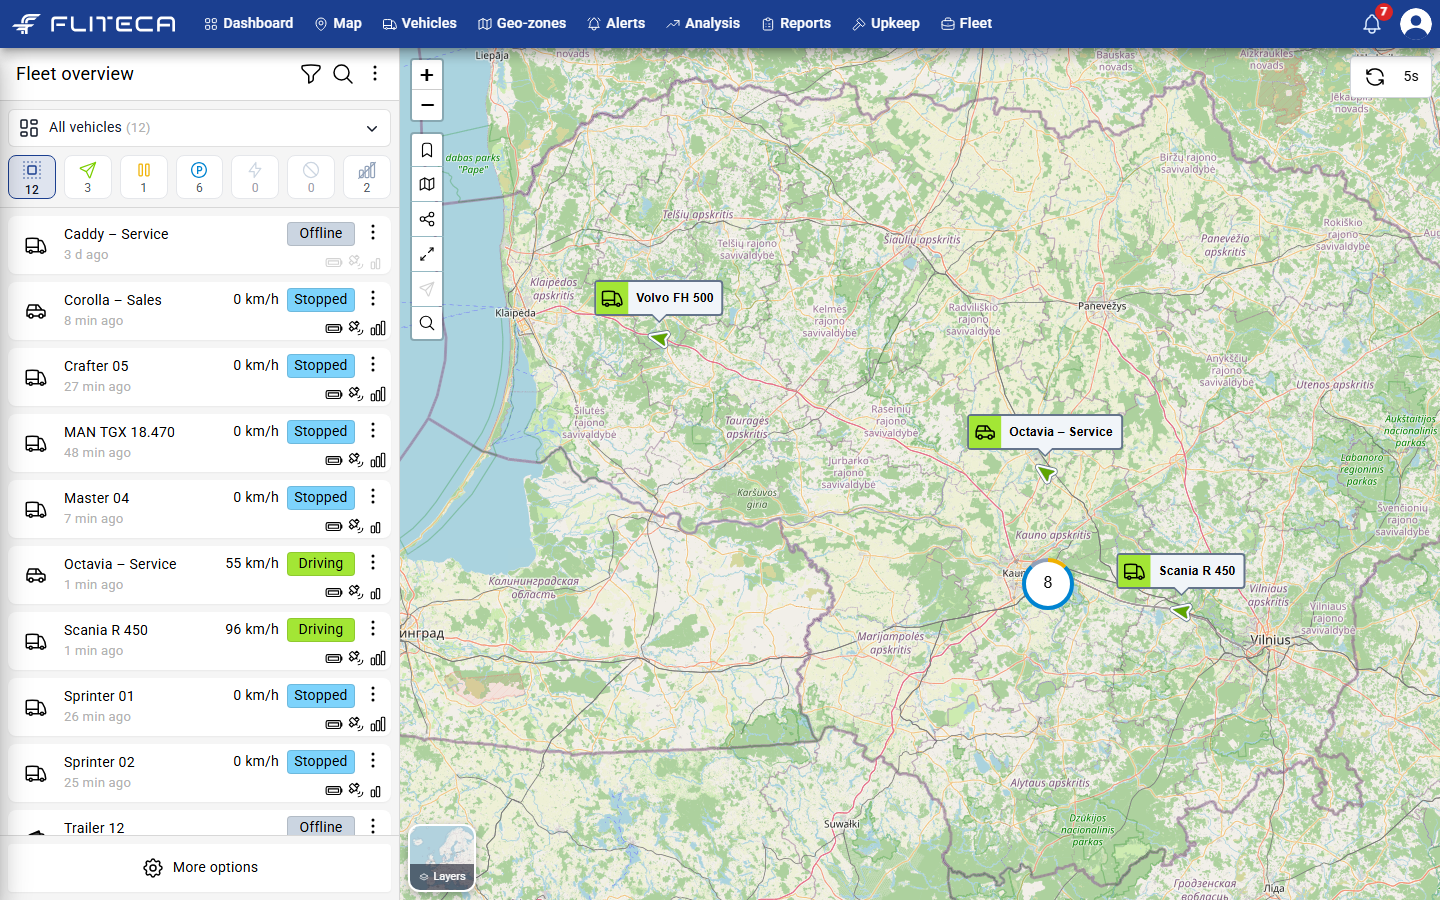
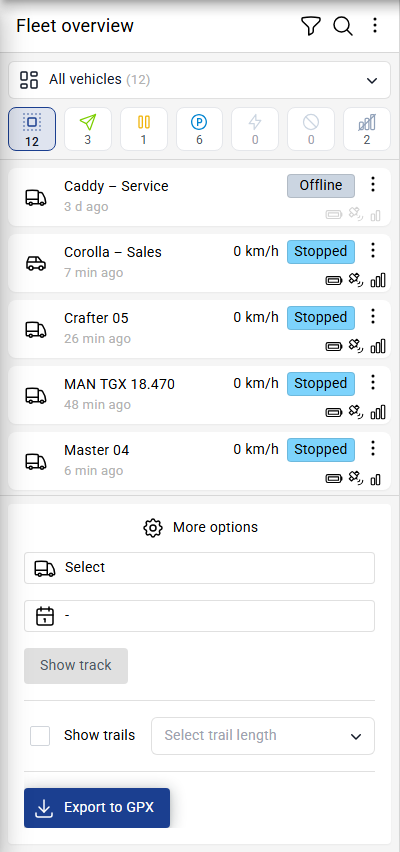
On the left is the Fleet overview: a list of all your vehicles with their speed and status.
On the right is the map. Each vehicle is a marker with its name.
The map updates by itself. The button in the top-right corner (5s) shows how often. Click it to change the automatic refresh period
Tip
When many vehicles are close together, the map shows them as one circle with a number. Zoom in to see each vehicle.
Show only some vehicles
The row of buttons above the list shows how many vehicles have each status.
Click a status button to show vehicles of that status only
Click and hold a status button to show vehicles not of that status
Click the first button to show all vehicles
The statuses are Driving, Idle (engine on, not moving), Stopped, Charging, Blocked and Offline. Point at a button to see its name.
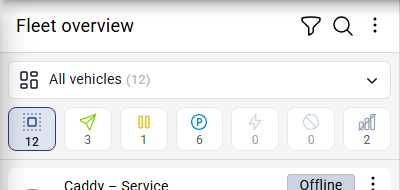
To show only one vehicle group, choose it in the box above the buttons. To find a vehicle by name, click the magnifying glass next to Fleet overview.
Look at one vehicle
Click a vehicle in the list. Its card opens and the map moves to it.
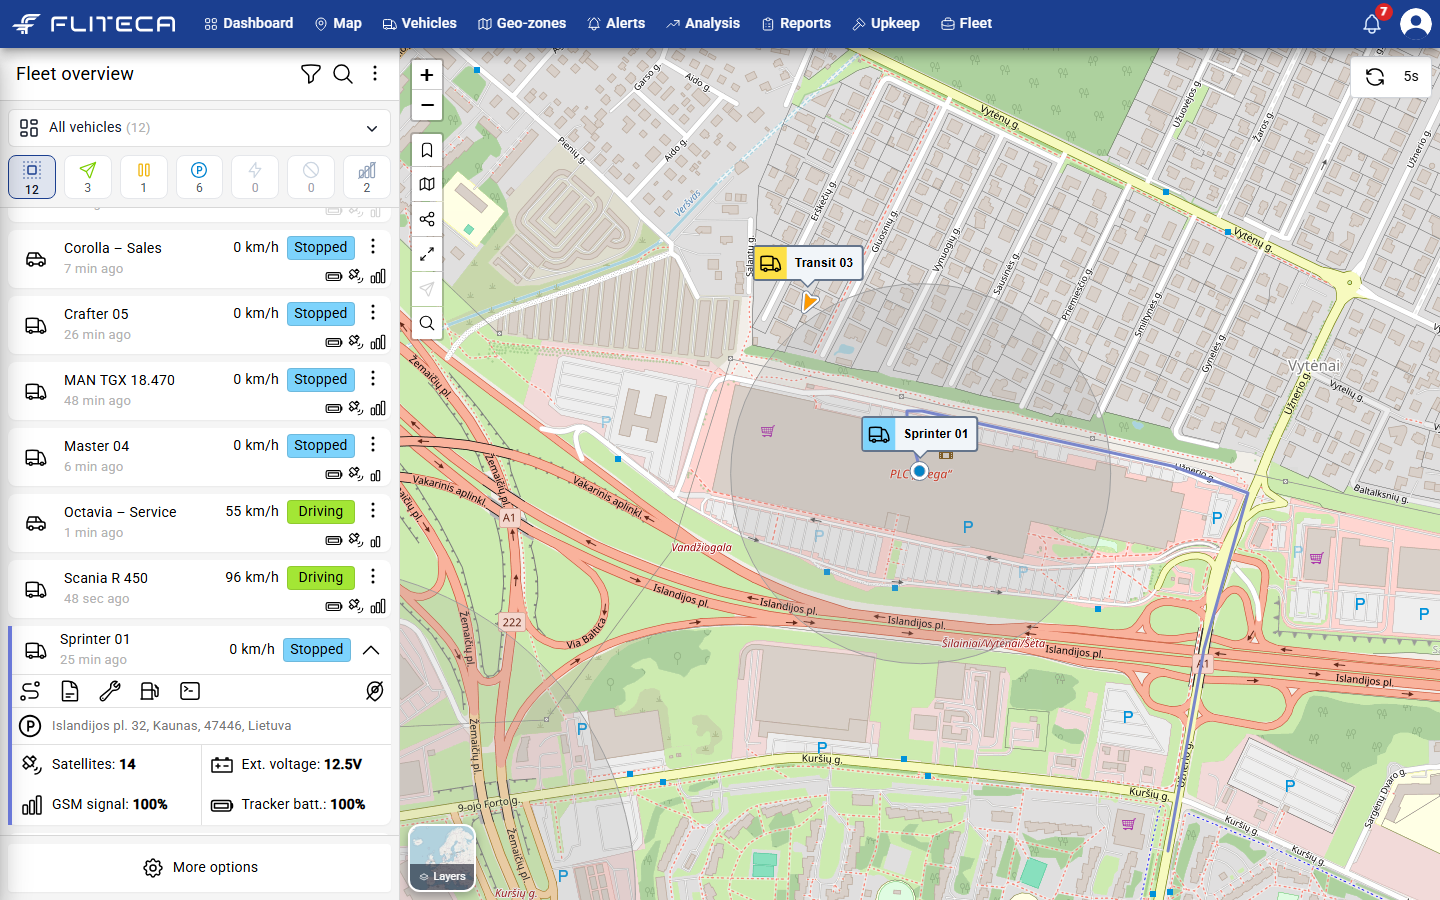
The card shows:
the address where the vehicle is now
Satellites – how many GPS satellites the tracker sees
Ext. voltage – the voltage of the vehicle battery
GSM signal – how good the mobile signal is
Tracker batt. – the charge of the tracker’s own battery
The buttons on the card open, from left to right: the vehicle’s trips, its details, its service visits, its fuel ups and its tracker commands. The button on the right hides the vehicle from the map.
See the trips of a vehicle
Note
Based on your subscription level you might see either “Basic trips” or “Full trips”. Full trips show statuses, but no details
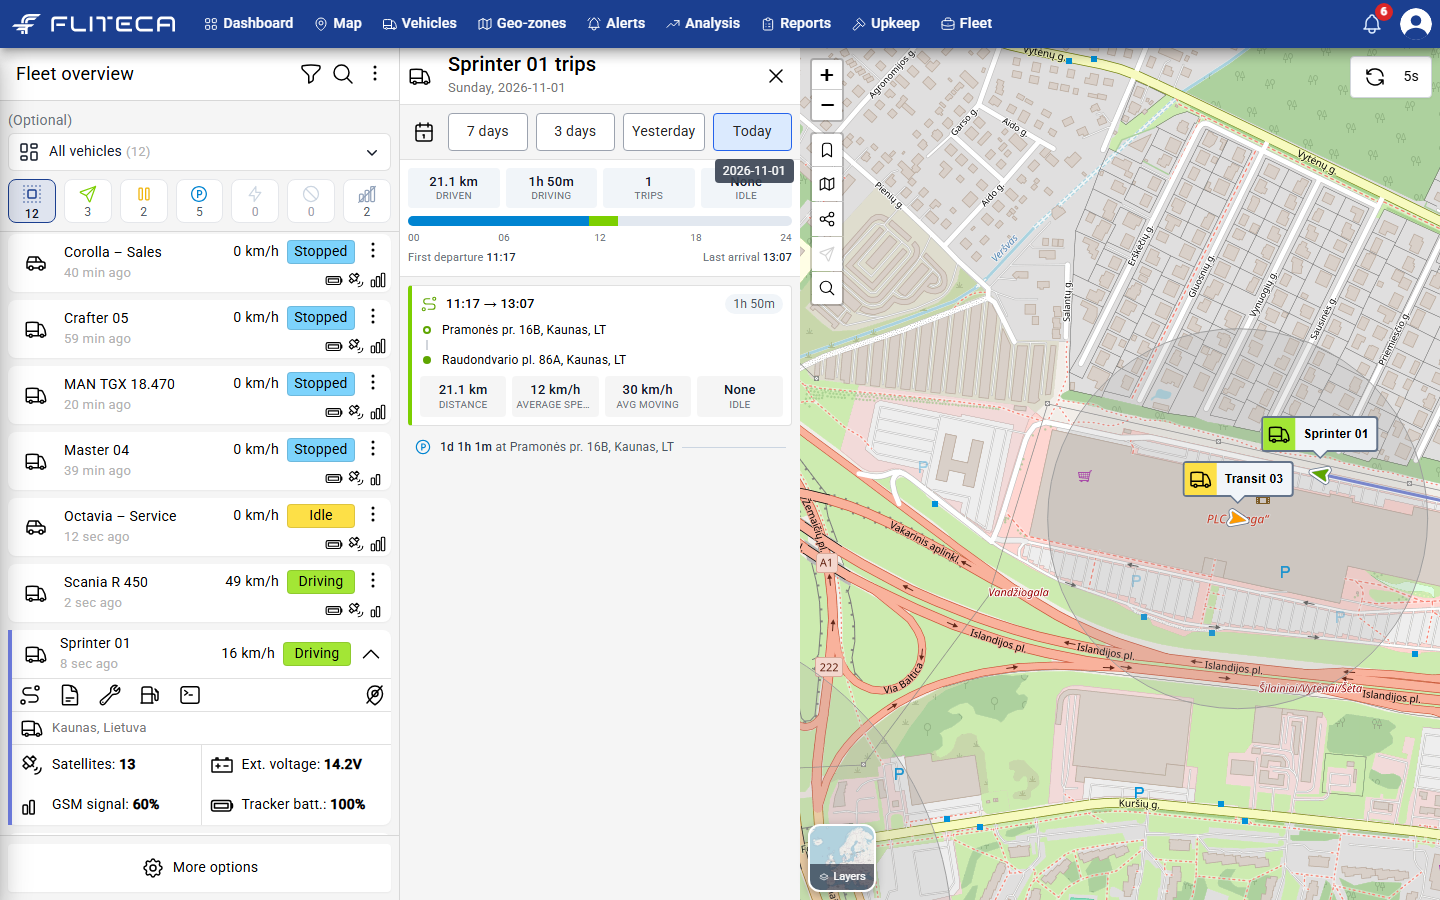
Open the card of a vehicle.
Click the first button on the card (View trips).
Choose Today, Yesterday, 3 days or 7 days. To pick a date, click the calendar.
The panel shows how far the vehicle drove, for how long, and how long it stood with the engine on. Each trip shows where it started and ended, its distance and its speeds. Stops between trips show how long the vehicle was parked.
Show a route for any date
Click More options at the bottom of the list.
Choose a vehicle in Select.
Choose a date.
Click Show track. The route appears on the map.
Tick Show trails to draw a short tail behind every moving vehicle. Choose how long the tail is.
Click Export to GPX to download the route as a file that other map apps can open.
Map actions
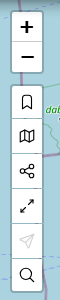
The actions on the left side of the map, from top to bottom:
+ and – – zoom in and out.
Vehicle labels – show or hide the names next to the vehicles.
Geo-zones – show or hide your geo-zones.
Clustering – group vehicles that are close together.
Zoom to all vehicles – fit every vehicle on the screen.
Your location – show where you are.
Address search – find a place on the map.
Find an address
Note
Might be limited by your subscription.
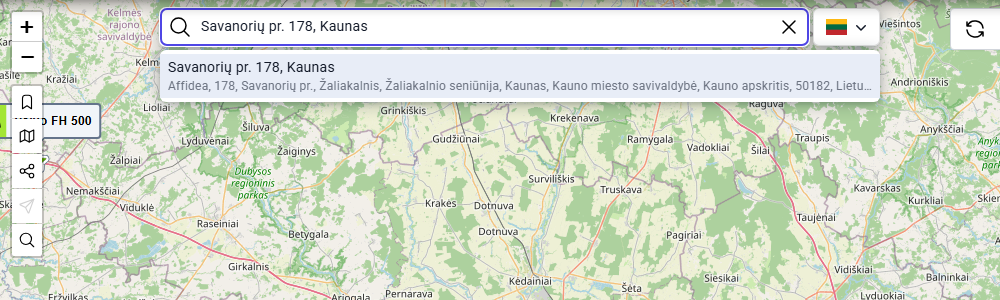
Click the magnifying glass on the map, or press S on your keyboard.
Type an address. Choose it from the list. The map moves there.
Change the map style
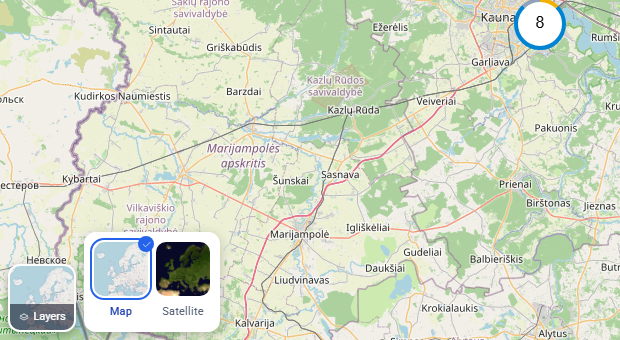
Point at Layers in the bottom-left corner. Choose Map for streets or Satellite for aerial photos.
Tip
You can adjust which vehicle field is used to label a vehicle on the map, the length of the trail and more in Your profile and settings. Every map action also has a keyboard shortcut. See Keyboard shortcuts.